Cannoli Cookie Cups Recipe is a delightful treat that will tantalize your taste buds. As a chef, I have had the pleasure of experimenting with various recipes, from Soft Homemade Sesame Breadsticks Recipe to Cheesy Ground Beef Tortilla Roll ups Recipe.
The process of creating these Cannoli Cookie Cups is definitely a culinary adventure. Once you try this recipe, you’ll be hooked! And let’s not forget about the irresistible Fluffy Homemade Crescent Donuts Recipe.
Why This Recipe Works
Discover the secrets behind the success of this delectable Cannoli Cookie Cups Recipe. By combining the crispy texture of a cookie cup with the rich and smooth cannoli filling, this dessert offers a delightful twist on a classic treat. Follow these stages to create your own batch:
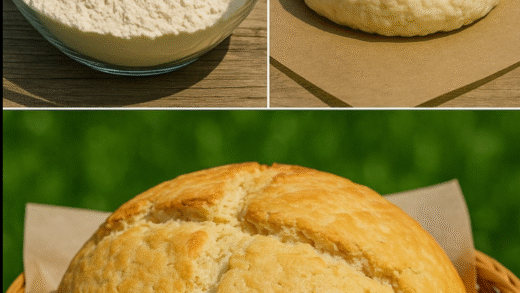
- Prepare the Cookie Cups: Start by making the cookie dough and shaping it into mini cups.
- Bake to Perfection: Bake the cookie cups until golden brown and crispy.
- Fill with Cannoli Cream: Whip together the creamy cannoli filling and pipe it into the cookie cups.
- Garnish and Serve: Finish off with a dusting of powdered sugar and a sprinkle of pistachios before serving.
Step by Step Guide to Cannoli Cookie Cups
Ingredients:
For the cookie cups:
- 1 cup unsalted butter, softened
- ¾ cup packed brown sugar
- ¼ cup granulated sugar
- 1 large egg
- 2 teaspoons vanilla extract
- 2¼ cups all-purpose flour
- 1 teaspoon baking soda
- ½ teaspoon salt
- 1¼ cups mini semi-sweet chocolate chips
For the cannoli filling:
- 1¾ cups whole milk ricotta cheese (drained overnight)
- ¾ cup mascarpone cheese
- ⅔ cup powdered sugar (more to taste)
- 1 teaspoon vanilla extract
- ½ teaspoon orange zest (optional)
- ¼ cup mini chocolate chips (for topping)
Directions:
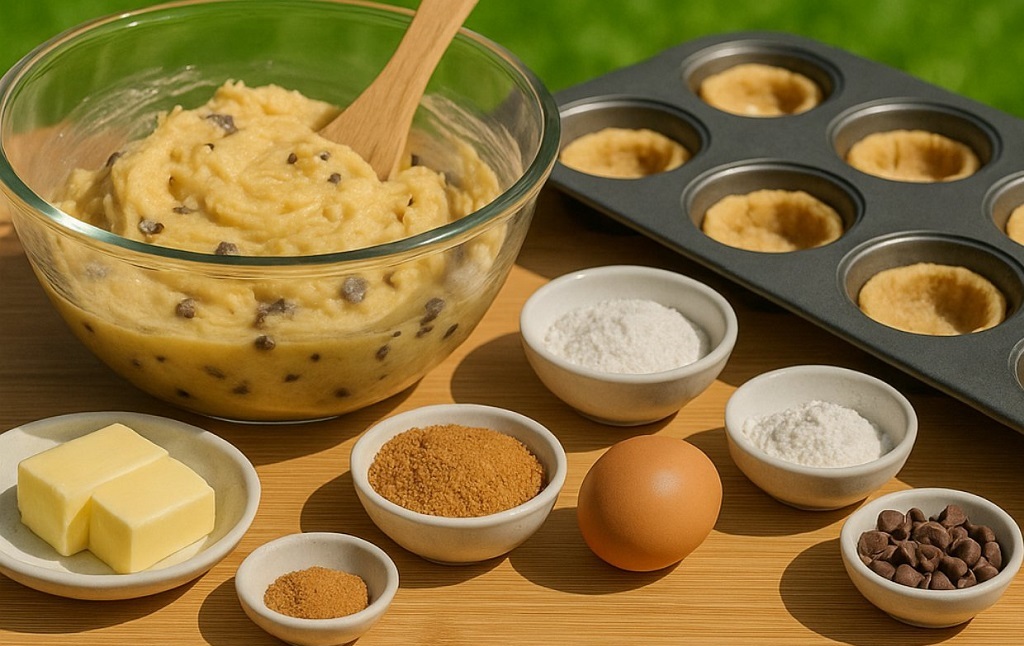
Make the cookie dough:
In a large mixing bowl, beat the softened butter, brown sugar, and granulated sugar until light and fluffy. Add in the egg and vanilla extract, mixing until fully combined. In a separate bowl, whisk together the flour, baking soda, and salt. Gradually mix the dry ingredients into the wet mixture until a soft dough forms. Stir in the mini chocolate chips until evenly distributed.
Shape and bake the cookie cups:
Preheat your oven to 350°F (175°C). Lightly grease a muffin tin. Roll the dough into balls and press each into the bottom and sides of the muffin wells, creating a cup shape. Bake for 10–12 minutes, or until the edges are golden. Remove from the oven and immediately press down the centers with the back of a spoon to reinforce the cup shape. Allow them to cool completely in the pan before removing.
Prepare the cannoli filling:
In a bowl, beat together the drained ricotta and mascarpone until smooth. Add in the powdered sugar, vanilla, and orange zest, and continue mixing until creamy and well blended. Taste and adjust sweetness if needed. Refrigerate for 30 minutes to let it firm up slightly.
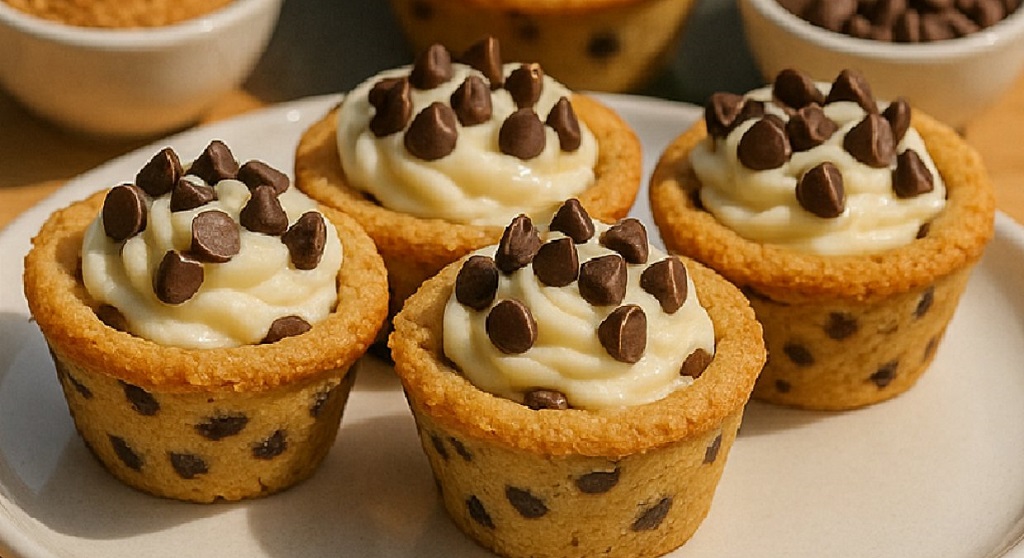
Assemble the cookie cups:
Once the cookie cups are completely cooled and the filling is chilled, transfer the cannoli cream into a piping bag. Pipe the filling generously into each cookie cup. Top with mini chocolate chips for garnish.
Chill and serve:
Place the filled cookie cups in the fridge for at least 20 minutes before serving to let the filling set. Serve chilled and enjoy!
Preparing the Cannoli Filling
Blending the Ricotta Cheese
Begin by blending the ricotta cheese until it reaches a smooth and creamy consistency. This step is crucial for achieving the perfect texture in your Cannoli filling. Moist Persian Date Cake Recipe With Honey Glaze offers a similar velvety texture.
Incorporating Sweet Flavors
Next, add a touch of sweetness by gently folding in powdered sugar and a hint of vanilla extract. This will enhance the flavor profile of the filling and create a delectable contrast in each bite. For more dessert inspiration, explore the Banana Cinnamon Yogurt Pancakes Recipe Without Flour and the Indulgent Chocolate Banana Layer Cake Recipe.
Creating the Cookie Cup Shells
Master the art of crafting perfect cookie cup shells with this detailed guidance:
Mixing the Cookie Dough
| Ingredients | Measurements |
| Flour | 1 cup |
| Sugar | 3/4 cup |
| Butter | 1/2 cup, softened |
| Egg | 1 large |
| Vanilla Extract | 1 tsp |
Baking and Shaping the Cups
| Step | Description |
| 1. Preheat | the oven to 350°F. |
| 2. Press | the dough into a muffin tin. |
| 3. Bake | for 10-12 minutes until golden. |
| 4. Cool | before removing. |
Enhance your Cannoli Cookie Cups Recipe by mastering the technique of creating the perfect cookie cup shells. Experiment with various fillings like the ones found in No bake German Chocolate Pie Recipe With Coconut pecan Topping, or pair them with Soft and Fluffy Homemade Milk Bread for a delightful dessert experience.
Adding the Final Touches
Final Touches
- Add a sprinkle of powdered sugar for a touch of sweetness
- Garnish with fresh berries to add a pop of color
Enhancing the Presentation
- Drizzle some chocolate sauce for a decadent finish
- Top with a dollop of whipped cream for an elegant touch
Enhance the flavor and presentation of your Cannoli Cookie Cups with these final touches. To add a touch of sweetness, sprinkle powdered sugar on top. Transitioning to the presentation, garnish with fresh berries for a pop of color. For an elegant finish, drizzle chocolate sauce and a dollop of whipped cream. Remember, presentation is key!
Expert Tips for Perfect Cannoli Cookie Cups
Elevate your baking game with these expert tips to ensure your Cannoli Cookie Cups turn out perfectly: Start by using high quality ricotta for a creamy filling. Chill the dough before shaping it for better texture. Bake at 350°F for 10-12 minutes, then let cool completely.
Visit the Carrot Cake Zucchini Muffins Recipe for more dessert inspiration. Follow up with the Quick And Easy Beef Stir fry Noodles Recipe for a savory treat.
Baking and Serving Cannoli Cookie Cups
Baking and Serving Cannoli Cookie Cups
Explore the baking process and the best way to serve these delightful Cannoli Cookie Cups: Create a Homemade Pineapple Quick Bread Recipe to complement your dessert spread.
Baking Instructions:
- Preheat the oven to 350°F.
- Prepare the cookie dough and press into mini muffin tins.
- Bake for 12-15 minutes until golden brown.
- Remove from oven and let cool.
Serving Ideas:
When ready to serve, fill the Cannoli Cookie Cups with cannoli cream and top with chocolate shavings. Pair them with a Soft and Moist Banana Bread Recipe Without a Mixer for a delightful combination.
| Ingredient | Quantity |
|---|---|
| Cookie dough | 1 package |
| Cannoli cream | As needed |
| Chocolate shavings | For topping |
Common Questions about Cannoli Cookie Cups
What ingredients are needed for this Cannoli Cookie Cups recipe?
For this Cannoli Cookie Cups recipe, you will need common baking ingredients like flour, sugar, butter, and vanilla extract. Additionally, you will require ricotta cheese, chocolate chips, and Mini Cannoli Shells. Check out the full list of ingredients
How do I make the Cannoli filling for these Cookie Cups?
To prepare the Cannoli filling for the Cookie Cups, start by mixing ricotta cheese, sugar, and vanilla extract until smooth. Then fold in chocolate chips. Pipe the filling into the baked cookie cups and chill. For a detailed recipe, click
Can I customize the toppings for these Cannoli Cookie Cups?
Absolutely! You can personalize the toppings on your Cannoli Cookie Cups by sprinkling chopped nuts, dusting with cocoa powder, or adding colorful sprinkles. Get creative with your decorations! For more inspiration, view the options
How should I store these Cannoli Cookie Cups?
It is recommended to store these Cannoli Cookie Cups in an airtight container in the refrigerator to maintain their freshness and texture. Enjoy them within a few days for the best taste. Find more tips on storing baked goods
Can I make these Cannoli Cookie Cups in advance?
Absolutely! You can make the cookie cups in advance and store them in an airtight container at room temperature. Fill them with the Cannoli filling just before serving for the best taste and texture. Plan your prep ahead with our tips