
Mini Chocolate Cheesecake Bites Recipe
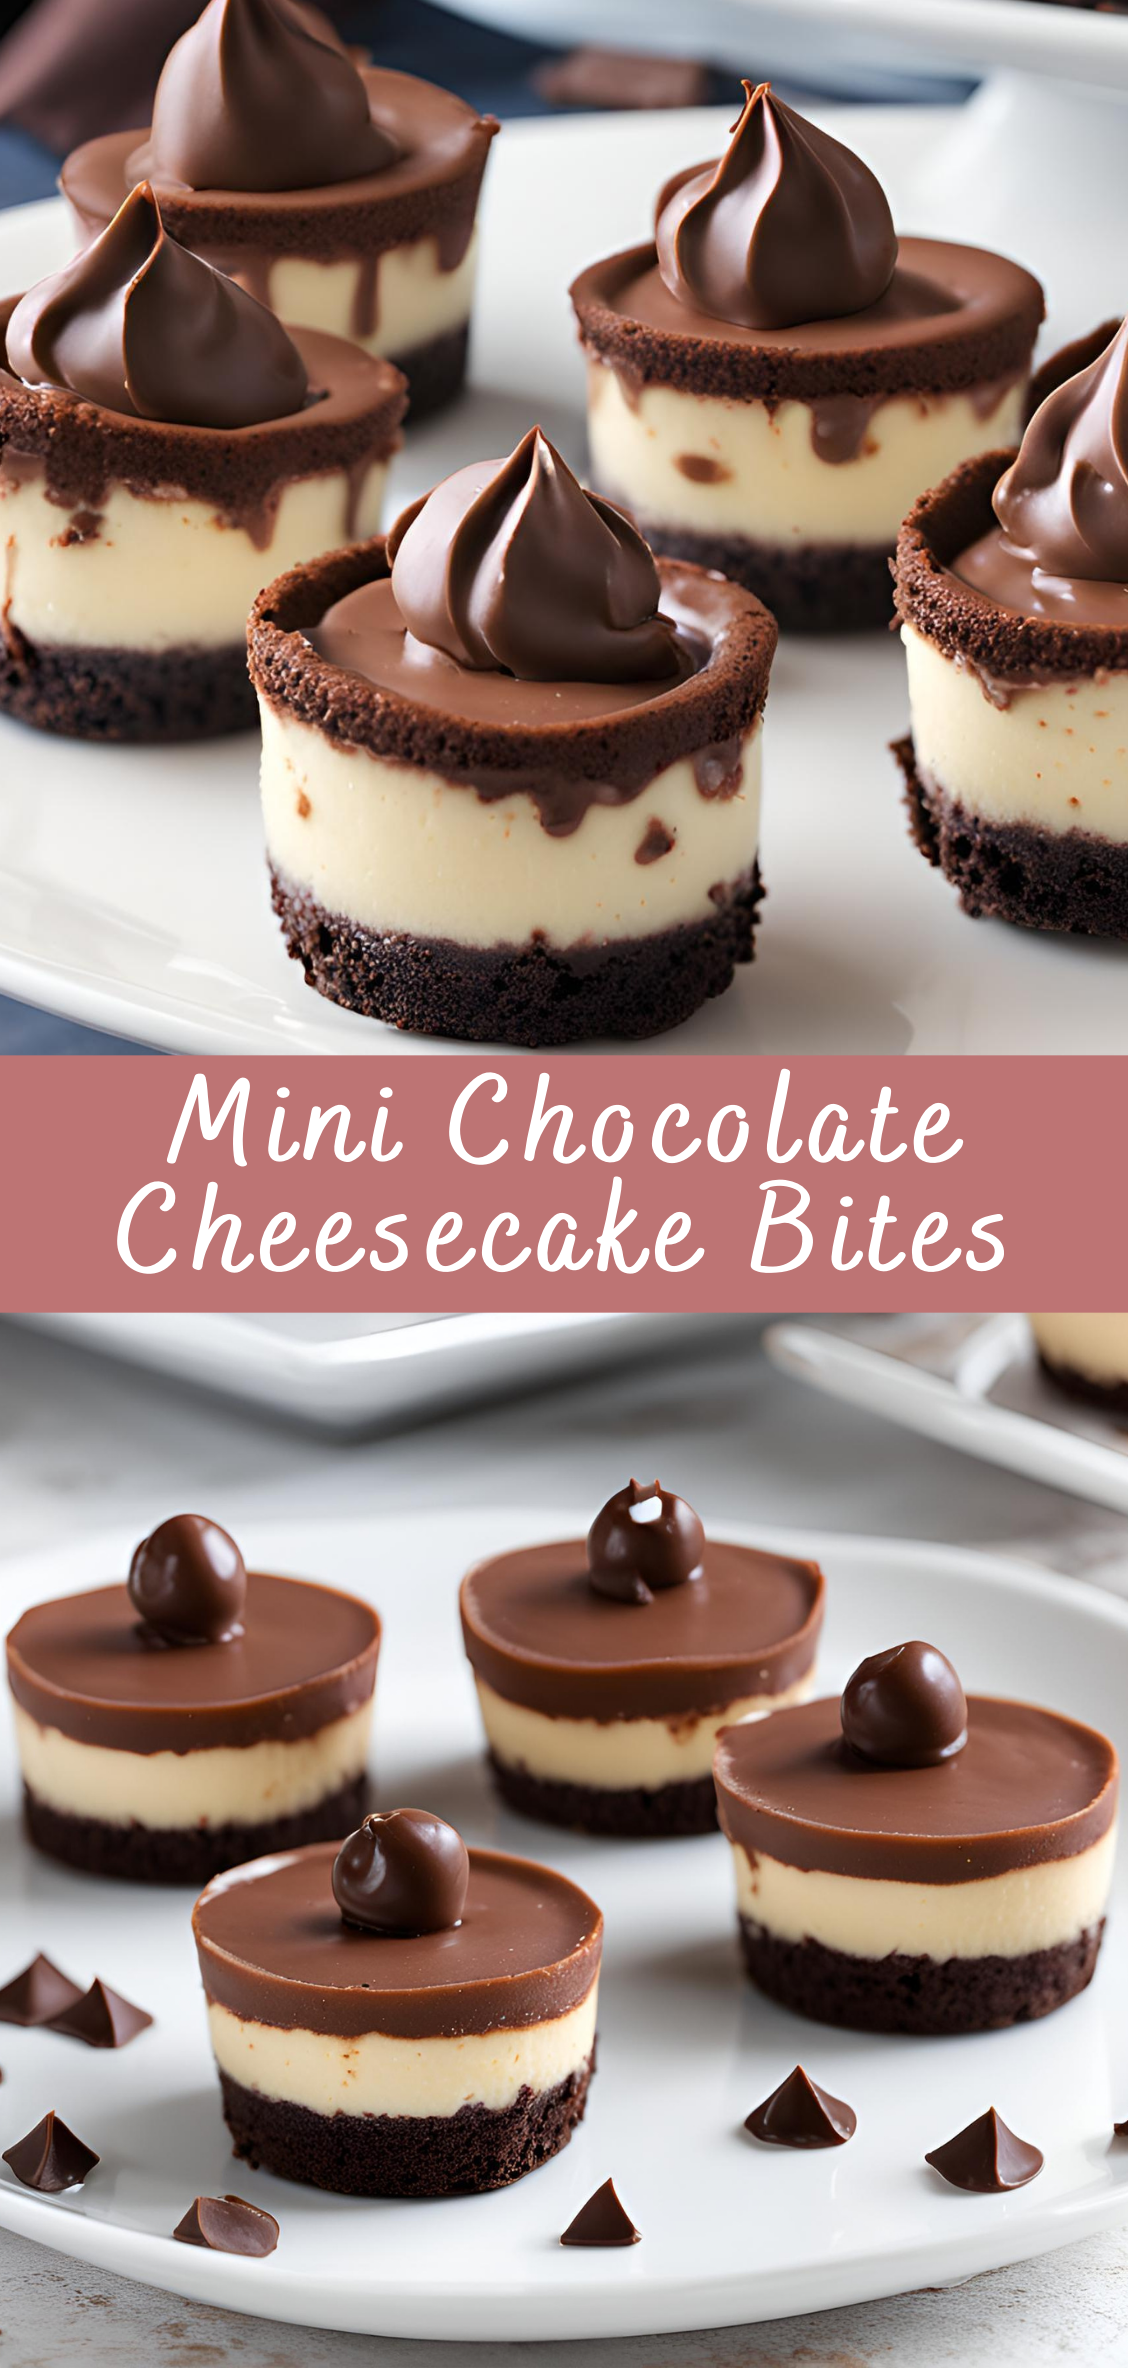
Mini Chocolate Cheesecake Bites are a perfect combination of two beloved desserts: cheesecake and chocolate. These adorable, bite-sized treats pack a punch of creamy, rich flavor that’s impossible to resist. Whether you’re hosting a gathering, planning a special celebration, or just want to treat yourself to something sweet, these mini cheesecakes are sure to impress. With a crunchy graham cracker crust, a luscious chocolate filling, and a decadent ganache topping, they deliver the ultimate dessert experience.
These mini cheesecakes are also a great option for portion control, allowing guests to enjoy a small but satisfying dessert without overindulging. They can be made in advance, stored in the fridge, and served at your convenience. The balance of creamy chocolate filling and a slightly tangy cheesecake base, all housed in a crunchy crust, creates a harmonious dessert that will keep everyone coming back for more.
Equipment:
-
- Muffin tin (preferably with a non-stick finish or lined with paper cupcake liners)
- Medium mixing bowl
- Whisk or electric mixer
- Microwave-safe bowl or double boiler (for melting chocolate)
- Small saucepan (for making ganache)
- Spoon or cookie scoop (for portioning the crust and filling)
- Cooling rack (optional, for cooling the cheesecakes)
- Small offset spatula or butter knife (for spreading ganache)
- Mini cheesecake liners (optional, for easy removal)
Step-by-Step Instructions:
Step 1: Prepare the Graham Cracker Crust
The crust provides the perfect crunch and flavor to balance out the creamy cheesecake filling. Here’s how to make it:
-
- Crush the Graham Crackers:
Start by crushing the graham crackers into fine crumbs. You can do this by placing the crackers in a zip-top bag and using a rolling pin to crush them, or by pulsing them in a food processor until finely ground. - Mix the Dry Ingredients:
In a medium bowl, combine the graham cracker crumbs, granulated sugar, and cinnamon (if using). Stir to combine the dry ingredients evenly. - Add the Melted Butter:
Pour the melted butter into the graham cracker mixture and stir until everything is evenly coated. The butter helps bind the crumbs together and provides a buttery flavor to the crust. - Portion the Crust:
Line a muffin tin with cupcake liners or grease each cup lightly with non-stick spray. Use a spoon or small cookie scoop to portion the crust mixture into each muffin cup, filling them about halfway (approximately 1-2 tablespoons per cup). Press down gently with the back of the spoon to compact the crust. - Bake the Crust:
Preheat the oven to 325°F (163°C). Place the muffin tin in the oven and bake the crusts for about 8 minutes, or until golden brown. This step ensures that the crusts set and get a nice, crisp texture. Once done, remove from the oven and allow them to cool while you prepare the cheesecake filling.
- Crush the Graham Crackers:
Step 2: Make the Chocolate Cheesecake Filling
The cheesecake filling is rich, creamy, and chocolatey. Here’s how to make it:
- Melt the Chocolate:
In a microwave-safe bowl or using a double boiler, melt the 1 cup of semi-sweet chocolate chips (or chopped chocolate) with the 1/4 cup of heavy cream. Heat in 30-second intervals, stirring after each interval, until the chocolate is completely smooth and melted. Set aside to cool slightly. - Mix the Cream Cheese and Sugar:
In a large mixing bowl, beat the softened cream cheese with an electric mixer on medium speed until smooth and creamy. Add the granulated sugar, vanilla extract, and salt. Continue to beat until the mixture is fluffy and well combined. - Add the Sour Cream:
Mix in the sour cream and beat until incorporated. This step adds tanginess and creaminess to the cheesecake filling. - Add the Eggs:
Add the eggs one at a time, beating well after each addition. Scrape down the sides of the bowl as needed to ensure everything is mixed together. The eggs help set the cheesecake and make it smooth and rich. - Incorporate the Melted Chocolate:
Slowly add the melted chocolate mixture to the cream cheese mixture, mixing until smooth and well combined. The chocolate will give the cheesecake a rich, deep flavor and a beautiful marbled appearance. - Fill the Cups:
Once the crusts have cooled slightly, spoon the cheesecake filling into each muffin cup, dividing it evenly. You can use a spoon or an ice cream scoop to make sure the filling is evenly distributed. Fill each cup to the top, as the cheesecake will not rise significantly during baking.
Step 3: Bake the Mini Cheesecakes
Baking the mini cheesecakes is a crucial step to ensure they set perfectly and achieve a creamy, smooth texture.
- Bake the Cheesecakes:
Place the muffin tin in the preheated oven at 325°F (163°C). Bake for 18-22 minutes, or until the cheesecakes are set around the edges but still slightly jiggly in the center. You want them to firm up while still being creamy in the middle. If they’re overbaked, they can become dry and crack. - Cool the Cheesecakes:
Once the cheesecakes are done, remove the muffin tin from the oven. Allow the mini cheesecakes to cool in the tin for about 10 minutes, then carefully remove them from the tin and place them on a cooling rack. Let them cool completely at room temperature, then refrigerate for at least 2-3 hours, or preferably overnight. Chilling the cheesecakes allows them to set properly and develop their full flavor.
Step 4: Prepare the Chocolate Ganache Topping
The ganache adds a smooth, glossy finish and a luxurious chocolate flavor. Here’s how to prepare it:
- Heat the Heavy Cream:
In a small saucepan, heat the 1/2 cup of heavy cream over medium heat until it starts to simmer. Do not let it boil. - Pour the Cream Over the Chocolate:
Place the 1/2 cup of semi-sweet chocolate chips (or chopped chocolate) in a heatproof bowl. Once the cream is hot, pour it over the chocolate and let it sit for 2-3 minutes to allow the chocolate to soften. - Stir to Combine:
After the chocolate has softened, whisk the cream and chocolate together until smooth and glossy. If you like, you can add 1 teaspoon of vanilla extract for extra flavor. - Let the Ganache Cool:
Allow the ganache to cool slightly before using it to top the mini cheesecakes. If the ganache is too hot, it may melt the cheesecake topping.
Step 5: Assemble the Mini Chocolate Cheesecake Bites
Now that everything is prepared, it’s time to assemble your mini chocolate cheesecake bites!
- Top with Ganache:
Using a spoon or small offset spatula, spoon a small amount of chocolate ganache on top of each cheesecake. Use the back of the spoon to spread the ganache evenly, allowing it to cover the entire top of each cheesecake. - Chill Again:
After adding the ganache, place the mini cheesecakes back in the fridge for another 30 minutes to allow the ganache to firm up and set.
Step 6: Serve and Enjoy
Once the ganache has set, your mini chocolate cheesecake bites are ready to be served! Here are a few ideas for presentation:
- Garnish with Shaved Chocolate or Cocoa Powder:
For an extra touch of elegance, garnish the cheesecakes with a sprinkle of cocoa powder or shaved chocolate before serving. - Add Fresh Berries:
Fresh raspberries or strawberries make a great contrast to the richness of the chocolate and add a refreshing, tangy flavor. - Serve on a Beautiful Tray:
Arrange the mini cheesecakes on a decorative platter or cake stand for an elegant presentation.
Conclusion:
Mini Chocolate Cheesecake Bites are an irresistible combination of rich chocolate flavor, creamy cheesecake filling, and a buttery graham cracker crust. These bite-sized treats are perfect for any occasion, from casual get-togethers to special celebrations. With a simple preparation process and the option to make them in advance, these mini cheesecakes are sure to become a go-to dessert in your repertoire.